
Everything Traces does, in the order you meet it: connect, drive, compare, and what each page is for.
New in 1.5.6: the Home page shows a Your first session card with five steps: connect, drive a lap, open it, compare with a faster lap, read the Coach. Each step ticks itself off and links to where it happens. Hide asks first; the Quick Start button brings the card back.
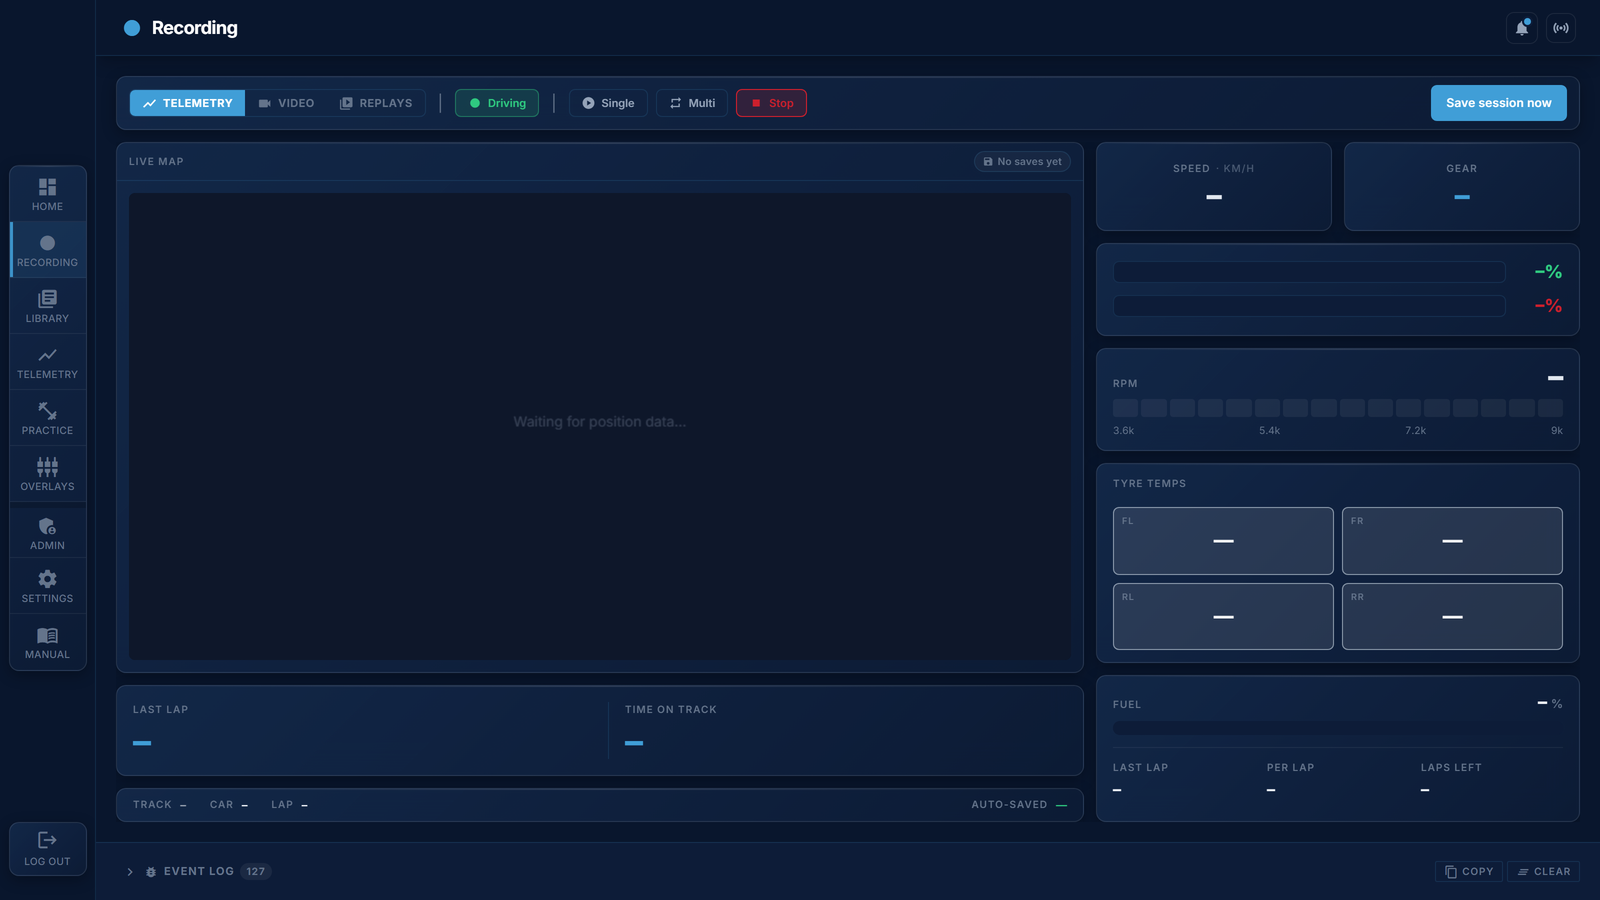
Recording is automatic. As soon as telemetry flows, every lap is captured with its speed, throttle, brake, steering, gear, RPM, tyre temperatures, fuel and position on track.
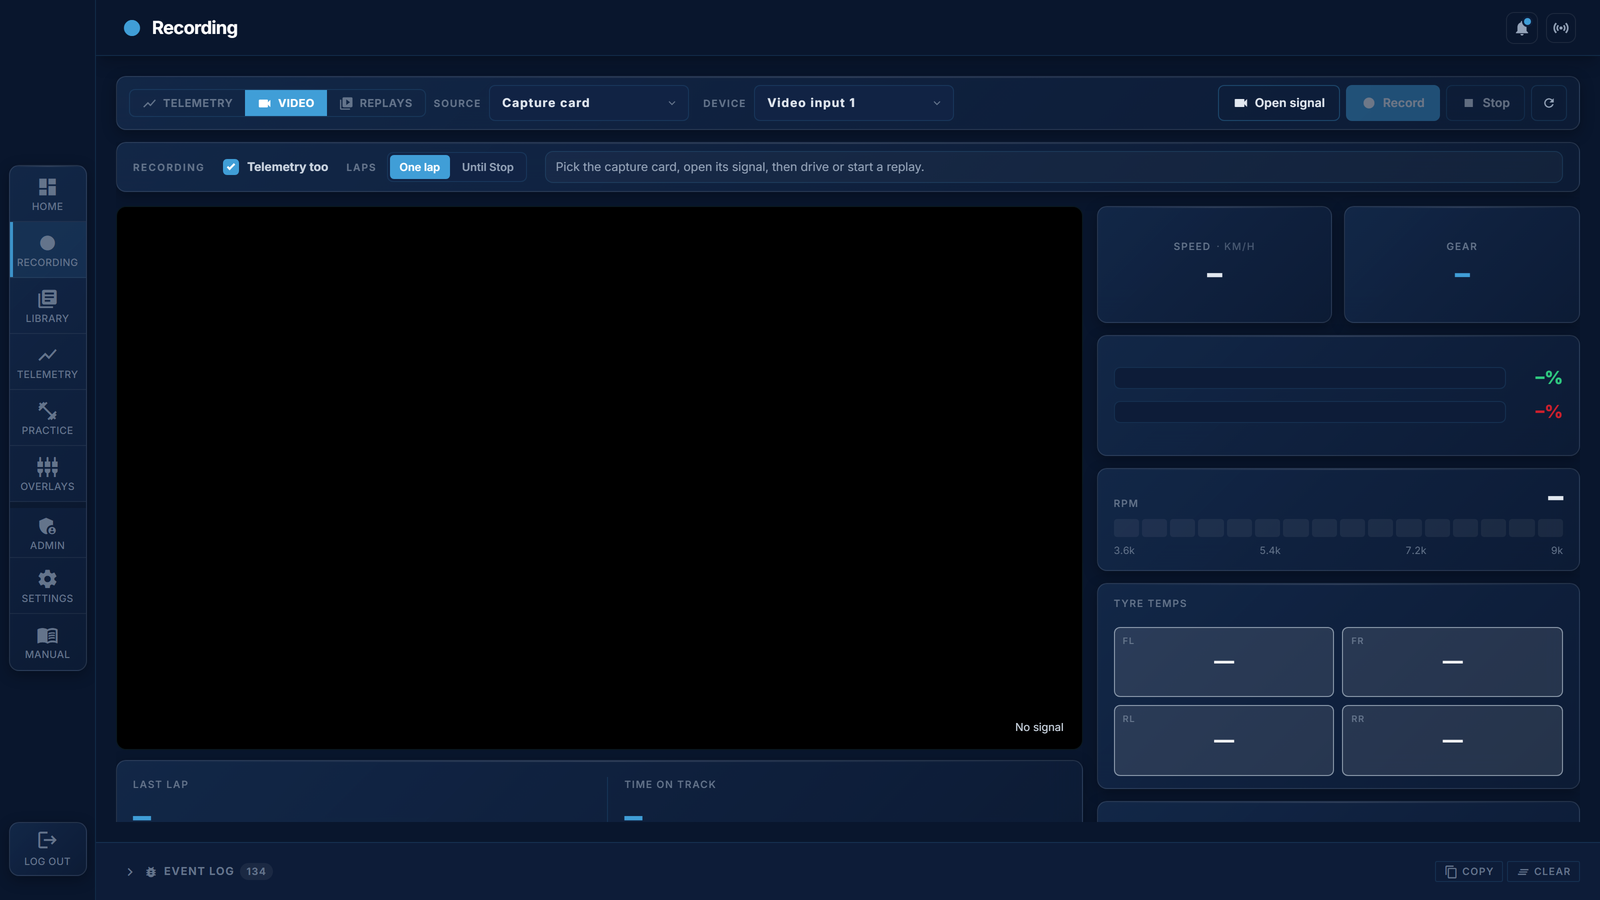
New in 1.6: the Recording page has three tabs. Telemetry is the page above. Video records the PS5's picture as well - through a capture card, a PS Remote Play window, or from a video file - and cuts each lap out as its own file, tied to the session (section 13). Replays lists every recording with the laps cut from it.
Every saved session, newest first, with track, car, laps and best lap. Sessions recorded on another machine with your account appear here too and download the first time you open them.
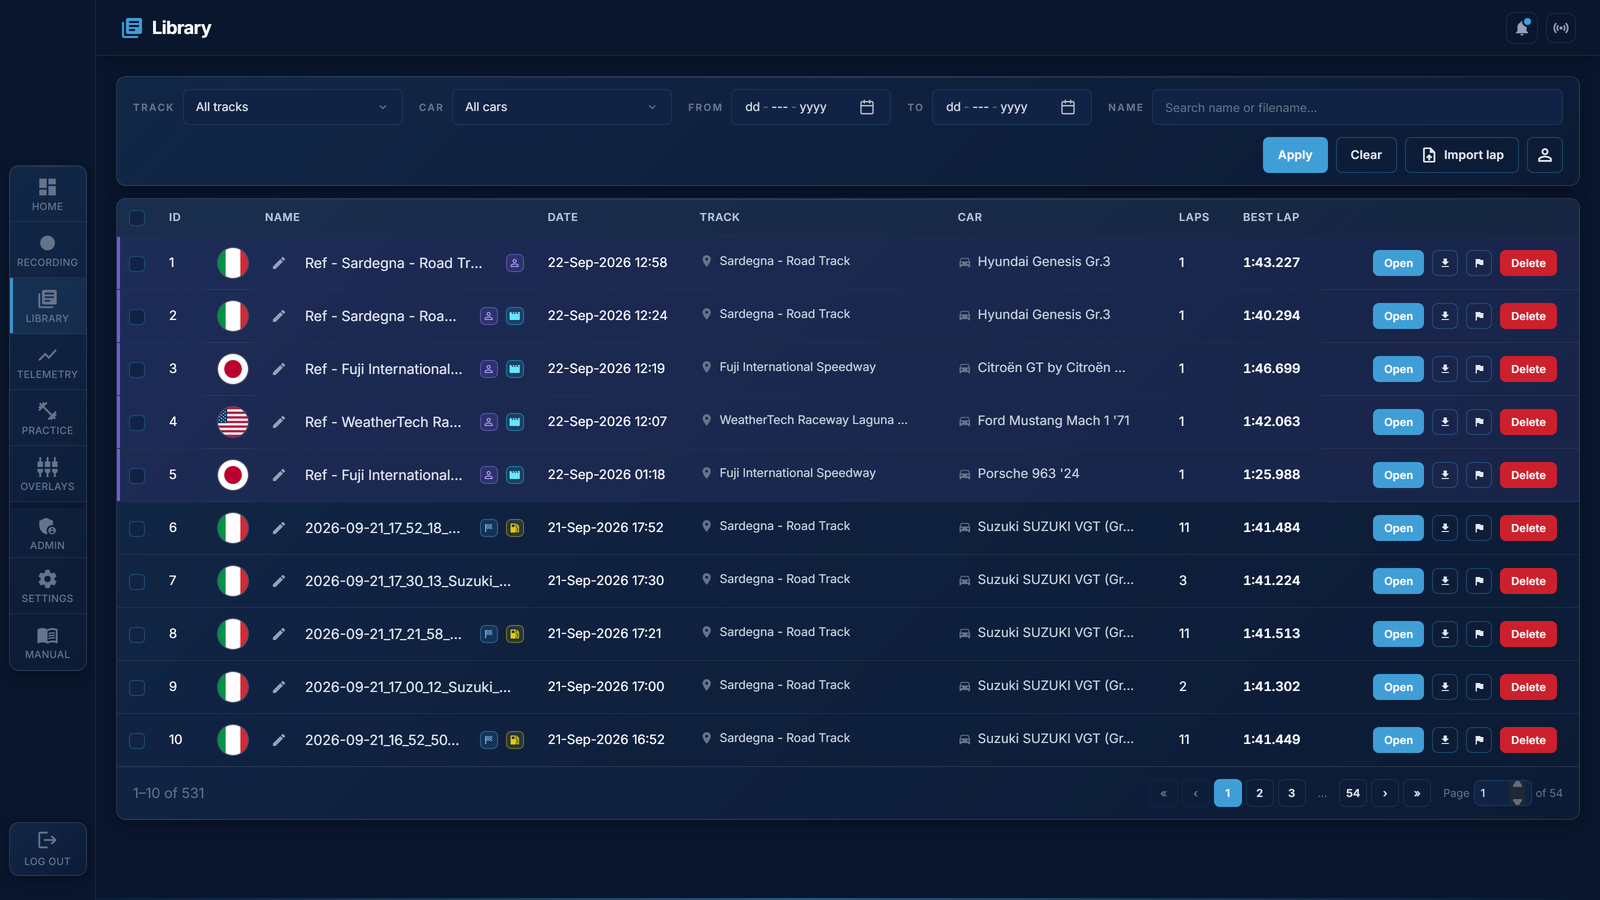
New in 1.6: the filters apply the moment you pick. Track, car and the dates are picks, so the list follows at once; the name is typed, so it waits for Enter, Apply, or a pause in the typing. The pickers narrow each other: pick a track and the car list holds only the cars you drove there, pick a car and the tracks shrink to where you drove it.
New in 1.5.6: the Library comes back to the page you were on after Telemetry, and you can type a page number next to the page buttons. A renamed session is one row again (its cloud copy kept the old name as its id). The import button in the community picker is an add-to-library icon.
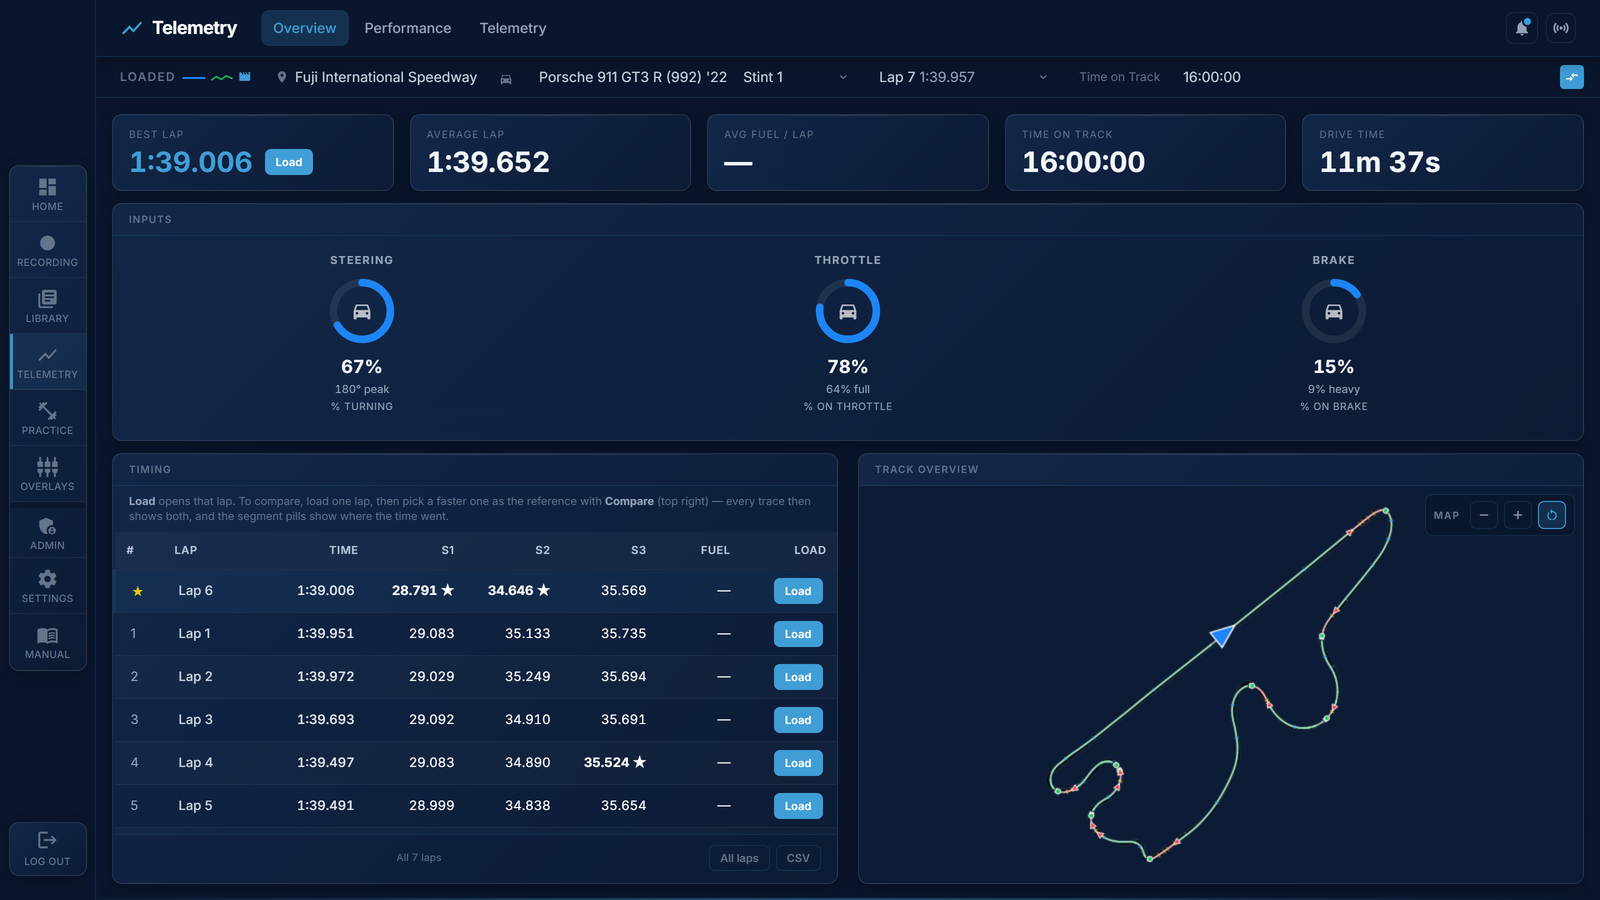
The session at a glance: best lap (with a Load button), average lap, fuel per lap, the lap-time progression and the Timing table. The best lap is pinned at the top of the table; every lap has a Load button.
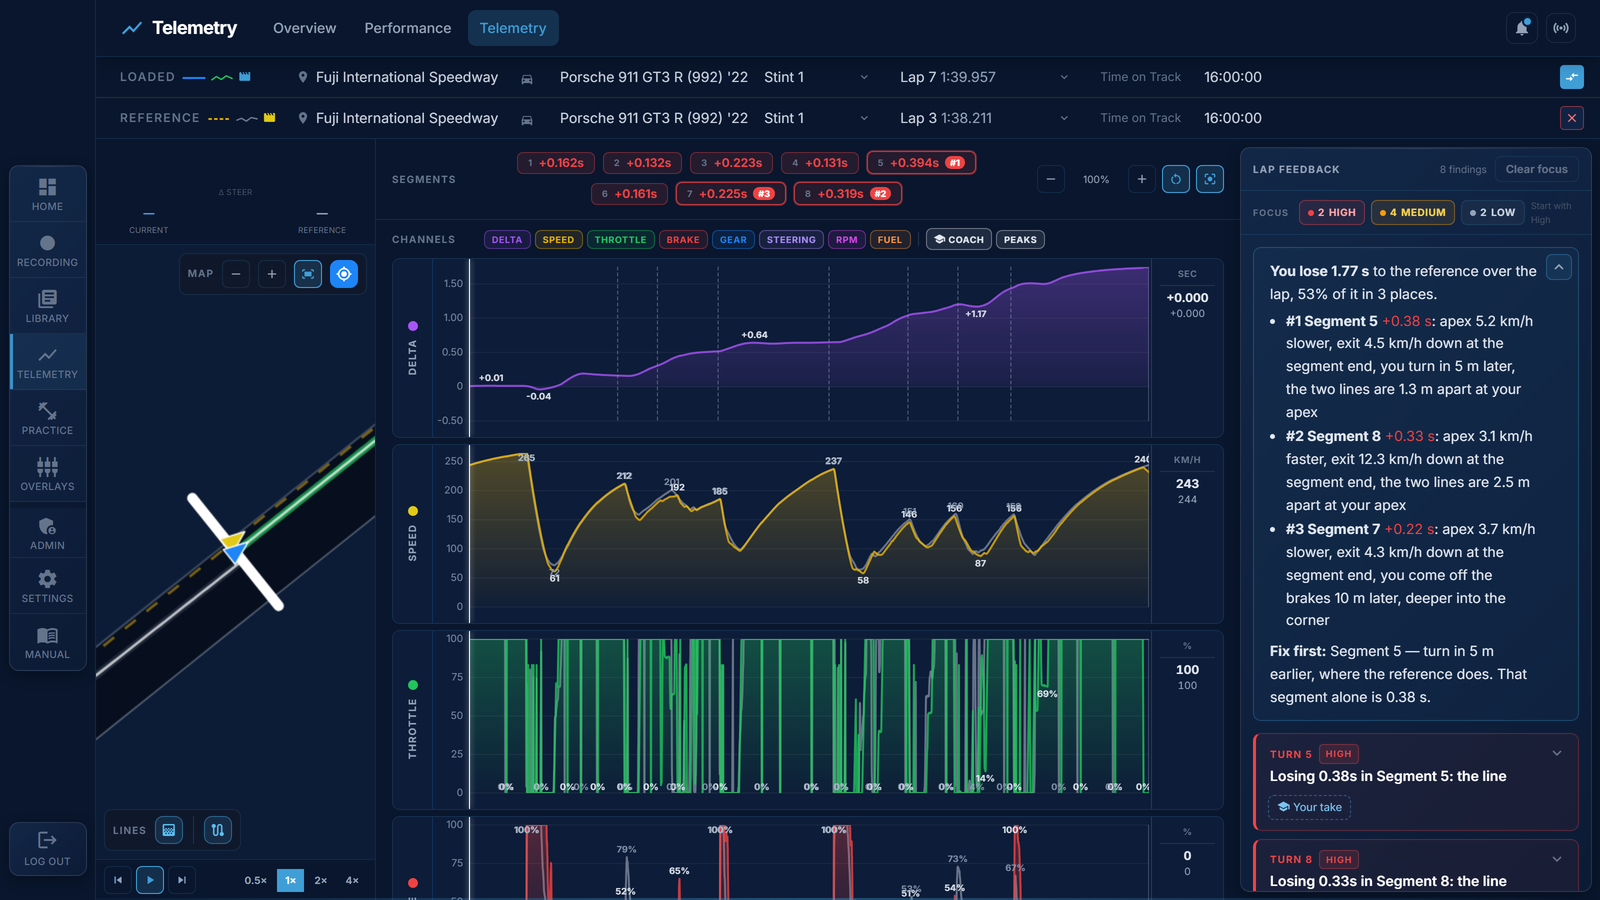
The lap on the map with the channels below. Move the mouse over a trace and the car follows on the map. Use the + / − on the map to zoom; it keeps following the car. The segment pills above show the split times.
All channels stacked, with the delta on top once a reference is loaded. The map column can be dragged wider at its edge, and Fit shows the whole track. The transport under the map plays the lap back at 0.5× to 4× (space toggles).
Tap once to set point A, tap again for point B, then drag a finger to scrub between them.
New in 1.6: on Performance, a lap that has a video (section 13) opens with the picture beside the map; the three view buttons at the top right choose map and video, the map alone, or two videos side by side once a reference is attached. A segment pill picks one segment at a time - click it again to let go. With Follow the playhead on (the transport), the channels scroll with the lap as it plays.
New in 1.5.6: the reference lap is remembered per track and car, so leaving Telemetry and coming back keeps it; the X on the Reference row or a session of another track or car drops it. When nothing is loaded to compare, the delta panels are buttons that open the picker. The Performance tab fits a laptop screen, and the play button sits by the zoom controls on the Performance and Coach tabs.
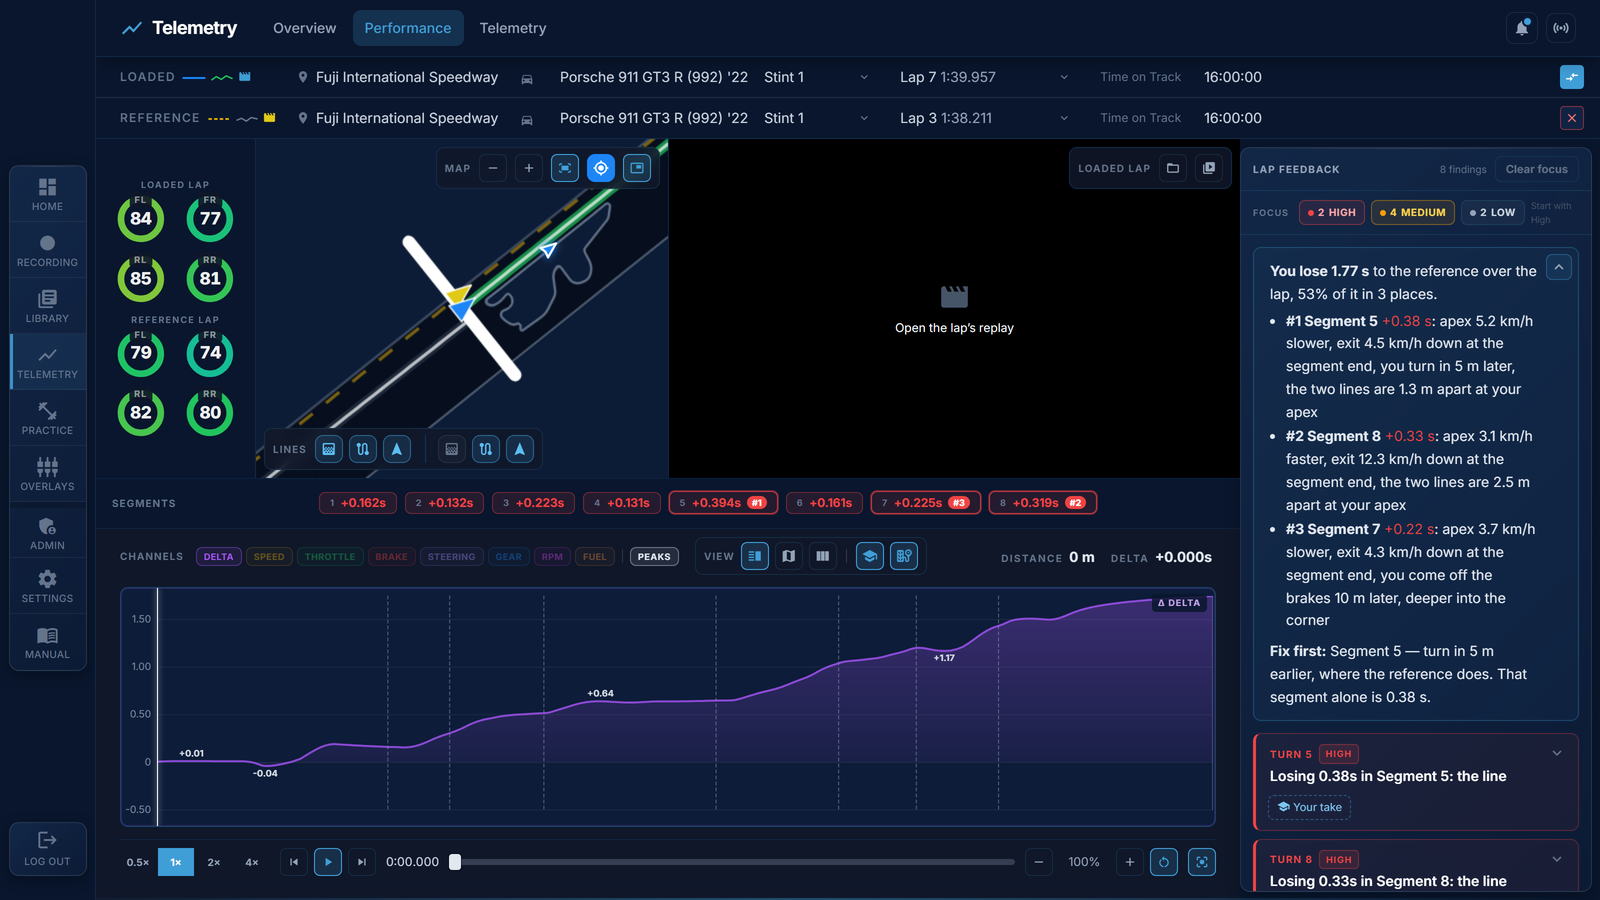
A reference is any lap you compare against. Load one lap, then pick the reference; every trace shows both, the delta shows where you gain and lose, and the segment pills badge the three biggest losses.
The optimal lap is your best run through each segment of the track, taken from different laps and stitched into one lap. It is saved as an ordinary session, so it can be loaded, compared against, and used for the live delta.
With a reference loaded, the Coach tab opens with a summary: how much you lose over the lap, the three segments that carry most of it with their causes, and the one thing to fix first. Below it, every finding per segment: brake point, apex speed, throttle pickup, gear at the apex, steering corrections, re-applied brakes. Click a finding to zoom the map and traces to that segment.
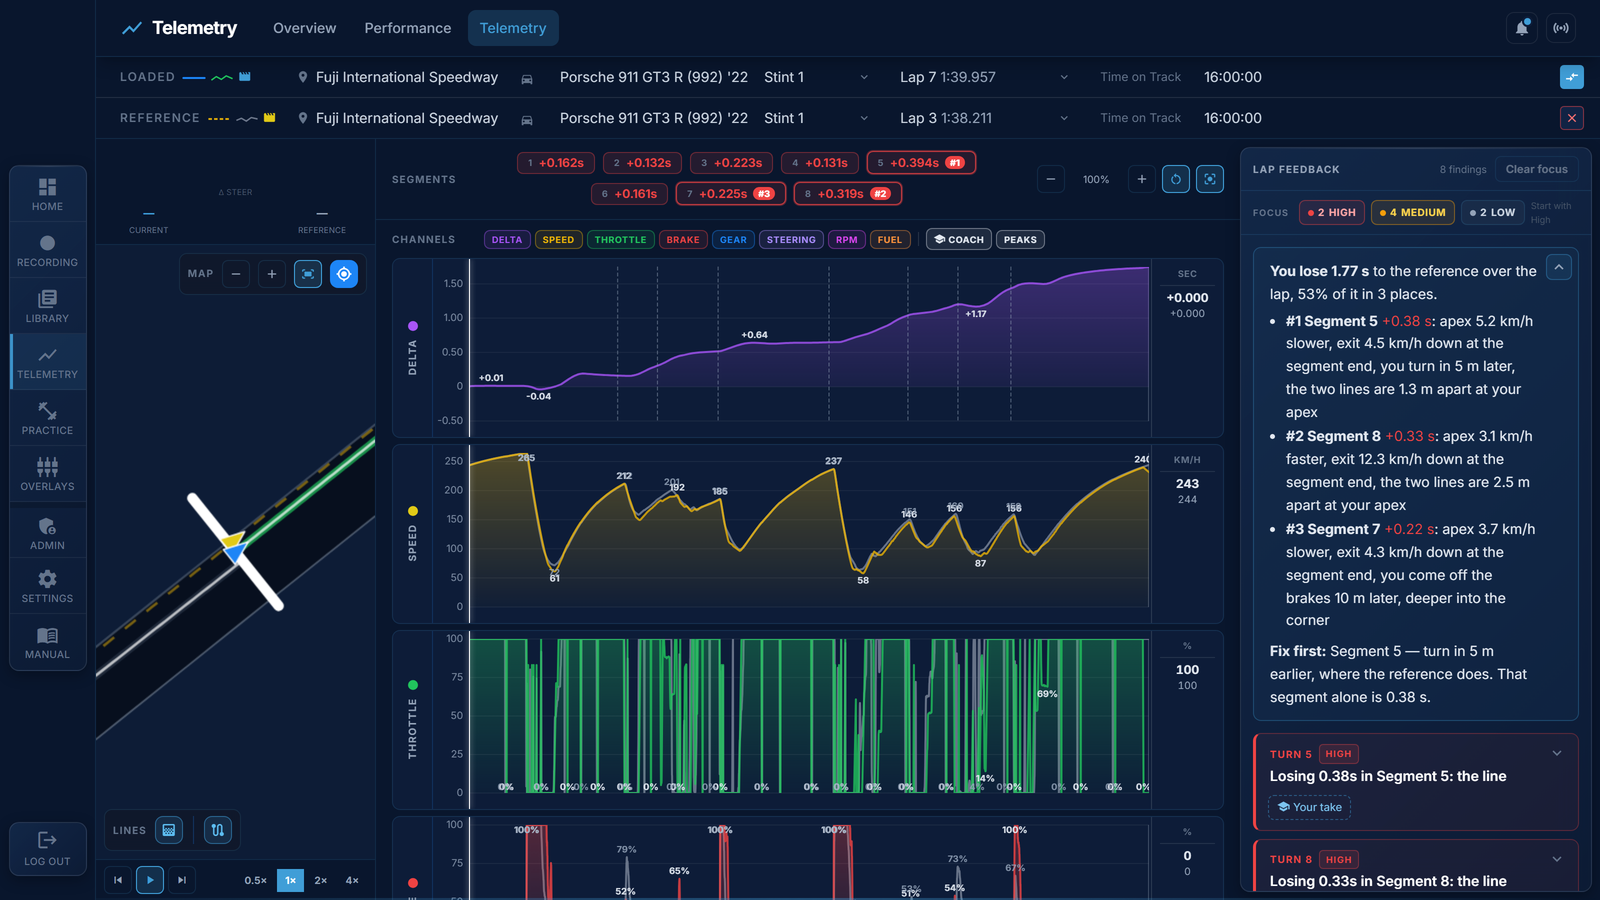
New in 1.6: each finding is a drop-down. Its head says the turn, the severity and what it is about - Brake, Throttle, Gear, Speed, Steering; open it and the explanation comes first, then the measurements behind it as rows, the finding's own measure first. Opening a finding shows its channel on the chart. Steering corrections come last: the line, the braking and the throttle are where the time is.
New in 1.5.6: each segment finding names the cause and carries a card per measure (speed, line, brake, throttle, gear, RPM, steering). Click a measure to isolate its channel and zoom the chart and the map to that spot. The summary box folds to one line with the chevron in its corner. The map's + and - zoom in bigger steps, and the gear axis is numbered when the gear trace is on.
Overlays are live pages fed by the app. Two uses:
Nothing is drawn on the PS5 itself. Overlays follow your units (mph, °F) from Settings, or the picker above the cards sets the speed unit for one overlay on its own — it goes into the link, so a single OBS source can differ from the rest. Both shows km/h and mph at once, the second one small underneath, for viewers whose own game runs in the other unit.
Presets: Race Dash, Trace Dash, both with a live track map, Fuel per lap, tyres and telemetry, the real wheel, the delta, Driver Rating, Time on Track and more.
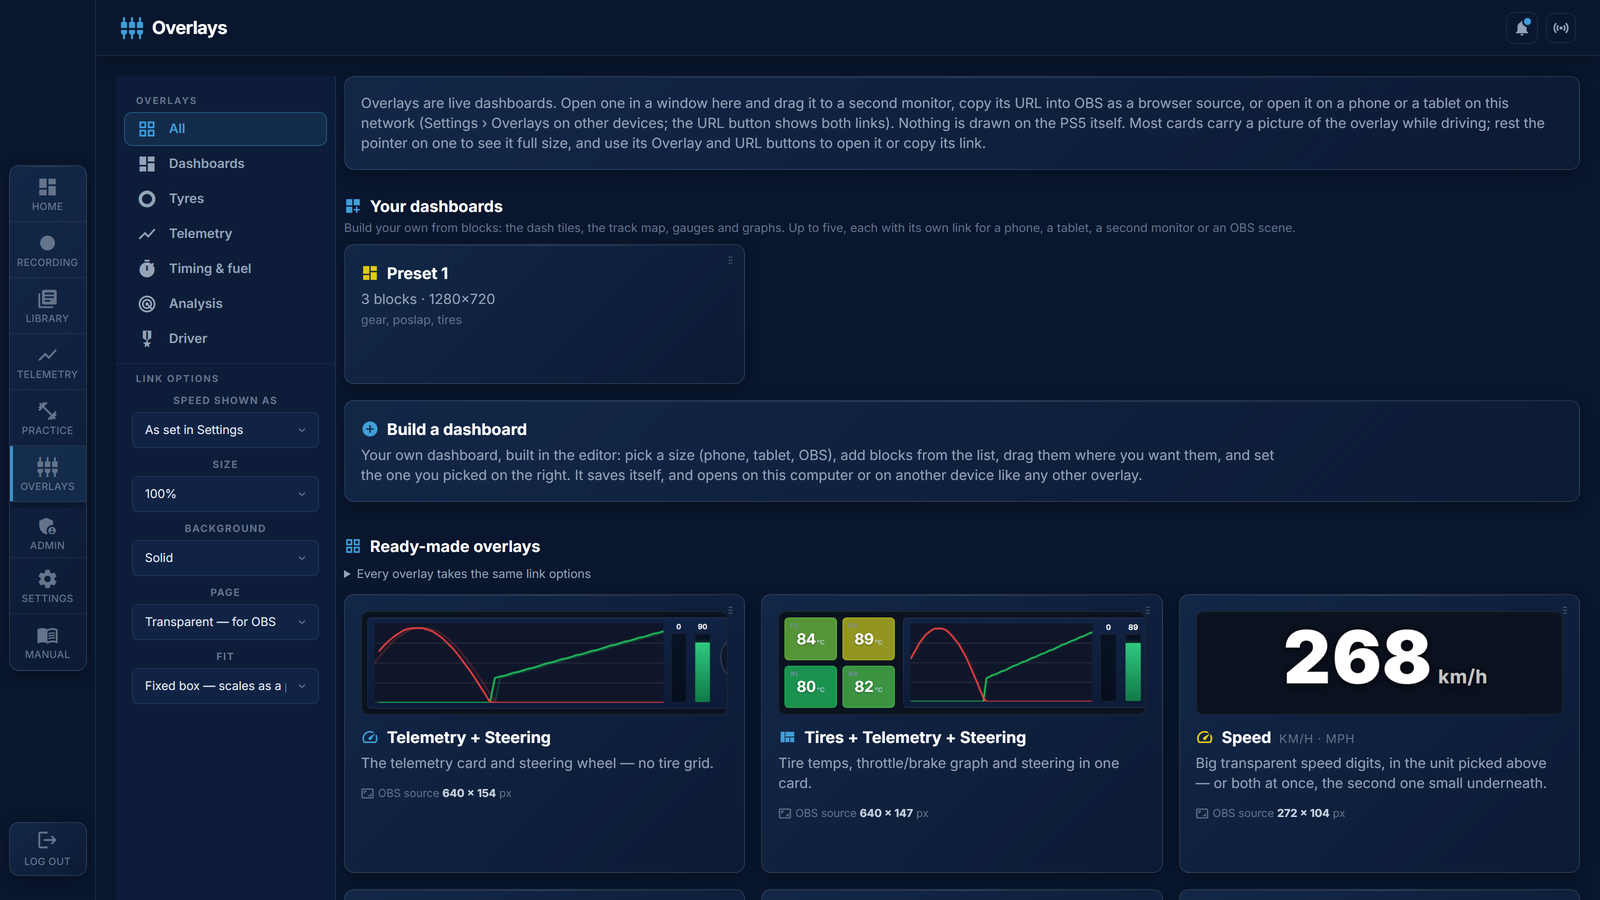
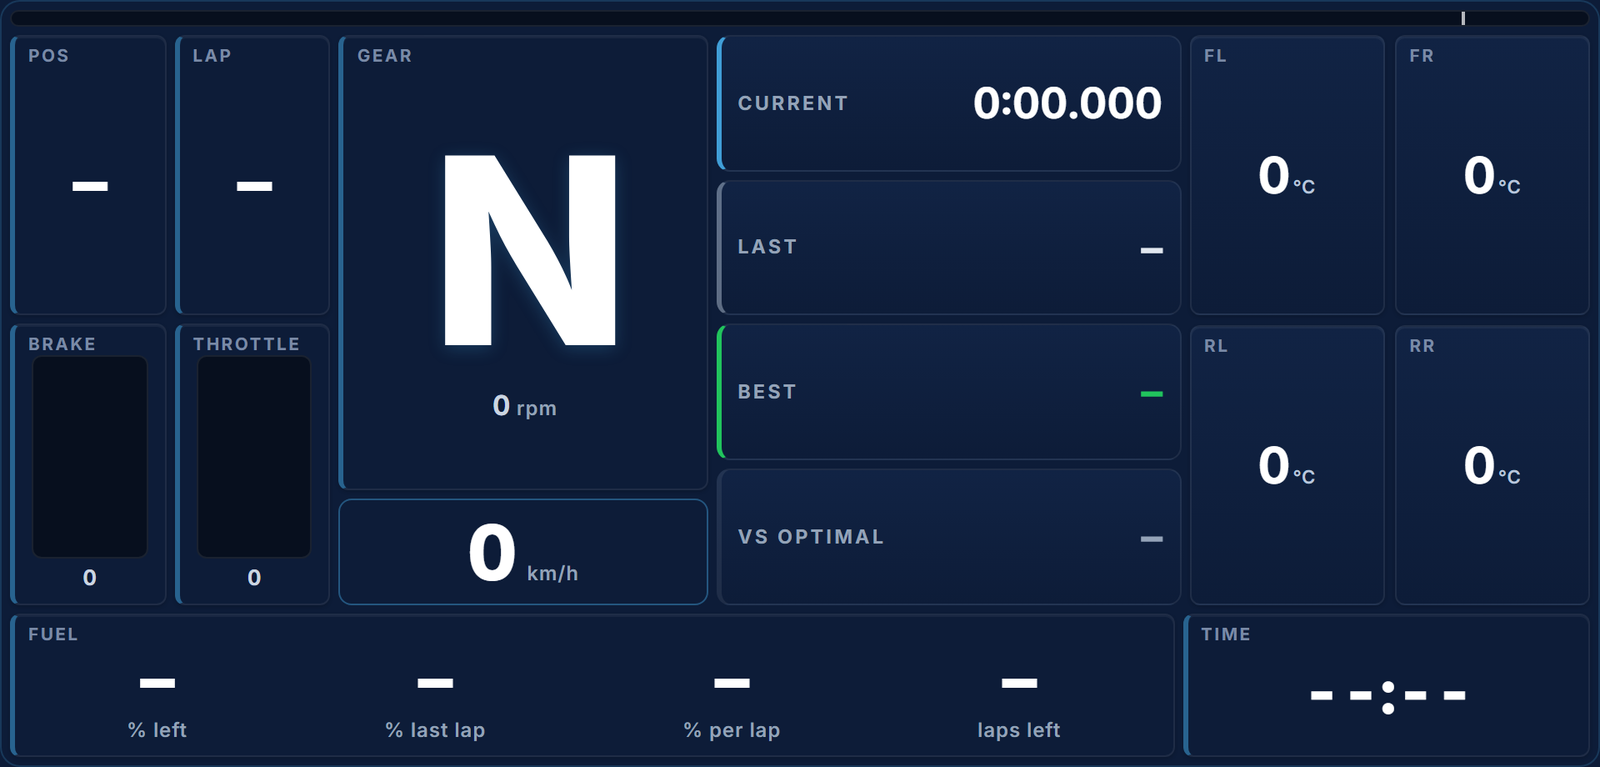
Settings › Overlays on other devices › tick Allow devices on this network to open overlays. Then, on the Overlays page, tick Link for another device and copy a card's link: it opens on any phone, tablet or computer on the same network. Only the overlays are reachable that way, only with such a link, and nothing can be changed from them; switching the setting off and on makes every old link stop working.
Windows asks whether to allow Traces on the network the first time; if that prompt was cancelled or never showed, the Settings card says so and Allow through Windows Firewall adds the rule (one administrator prompt). If a phone still cannot open a link, it is the network between the devices: both must be on the same one - a guest network, or "AP isolation" on the router, keeps devices apart.
New in 1.5.6: every ready-made card shows a picture of the overlay while driving; rest the pointer on a card to see it full size. Race Dash shows the session time, a live estimate of fuel laps left and the gap to your optimal lap, and fits an iPad upright. The Driver Rating overlay follows your own account unless Settings says otherwise.
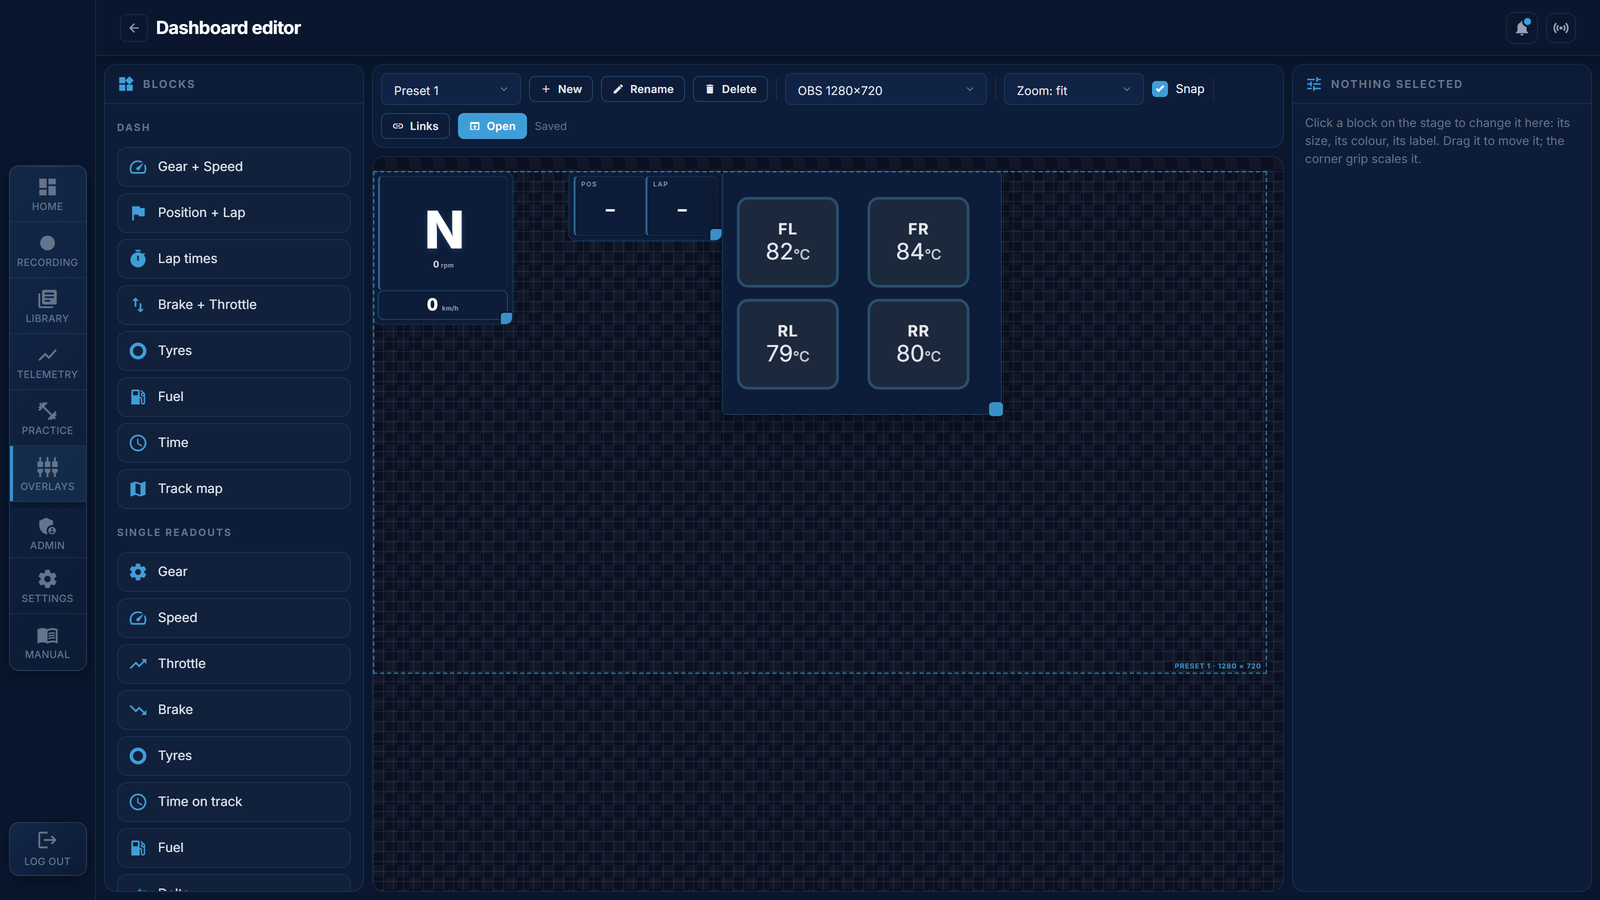
Your dashboards are listed at the top of the Overlays page, each with its own link to open or copy.
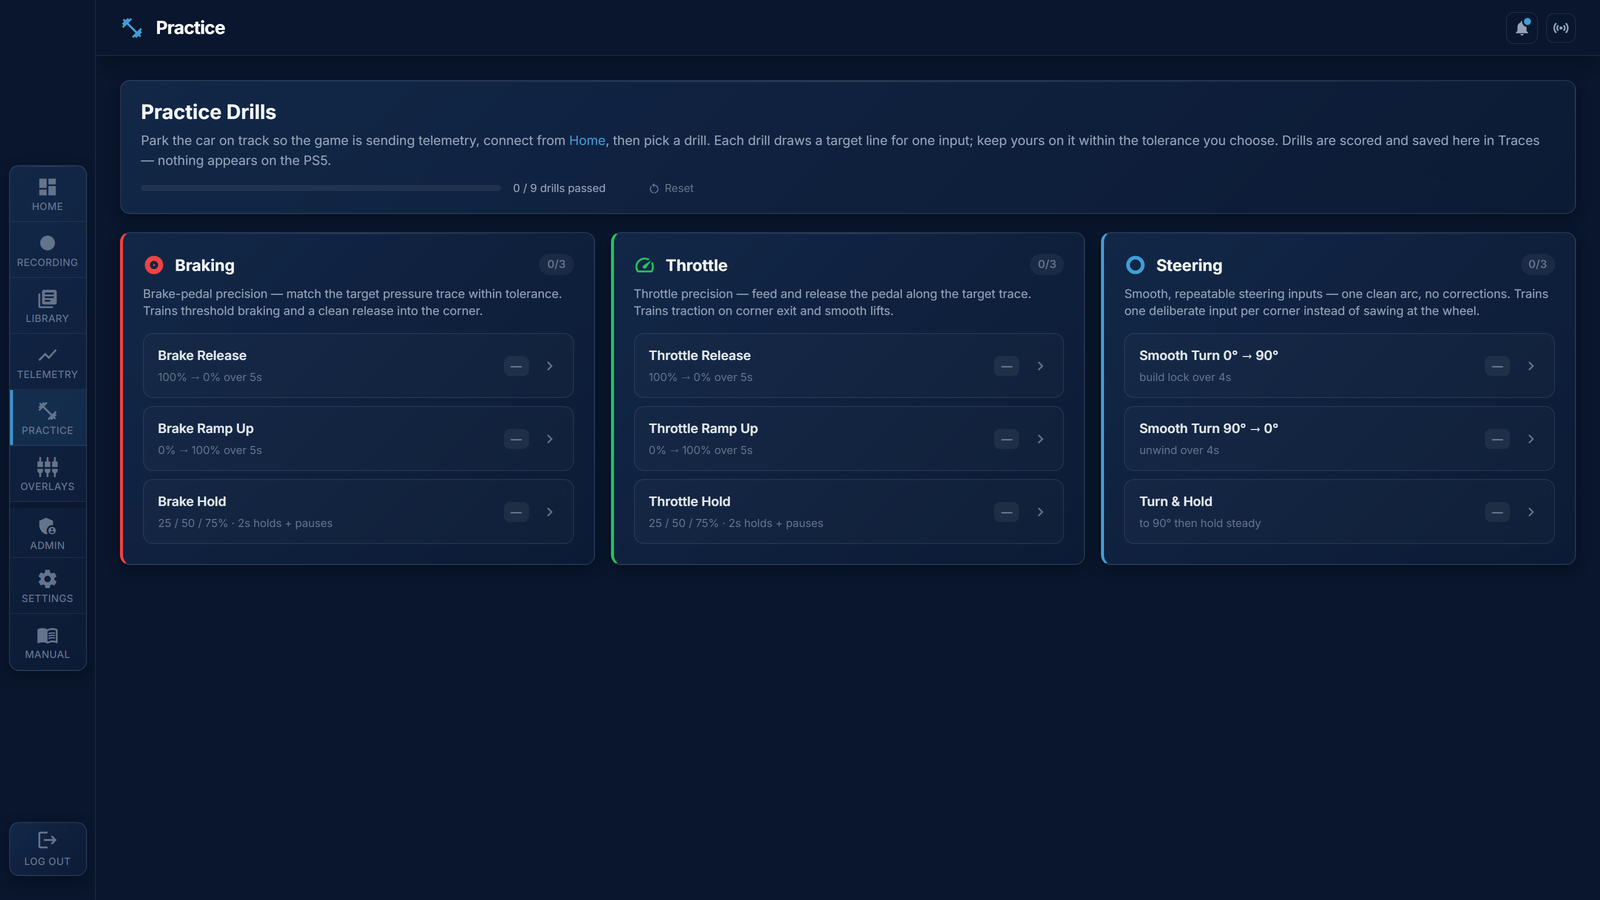
Park the car on track so the game is sending telemetry, then pick a drill. Each drill draws a target line for one input (brake, throttle or steering); keep yours on it within the tolerance you choose. Drills are scored and saved in Traces only.
With Auto-upload on (Settings), every saved session goes to your online library. New uploads are public, so your laps count on the leaderboards; Settings changes the rule, and the lock in the Library hides any single session. Public laps appear on the leaderboards, where other drivers can load them as a reference.
If the icon says sign in again, your cloud session expired: sign out and back in and the queue resumes on its own.
Import lap in the Library takes a .edge file from another Traces user or from your other machine. It lands in the Library like any session and can be loaded or used as a reference.
The Recording page's Video tab records the PS5's picture alongside the telemetry, so a lap can be watched next to its data on the Performance tab, and two laps side by side.
A file, or a recording whose laps were not stamped: the picture opens on the Video tab with the tools on the left. Step the picture to the frame where the game's timer flips to 0:00 (← → move one frame, Shift for a second) and press Lap starts here; with the lap picked in Lap in that session, the end is set from the lap's time and the picture jumps to that frame, so you can check the timer flips there too. Start and End show their frames; Cut this lap writes the file.
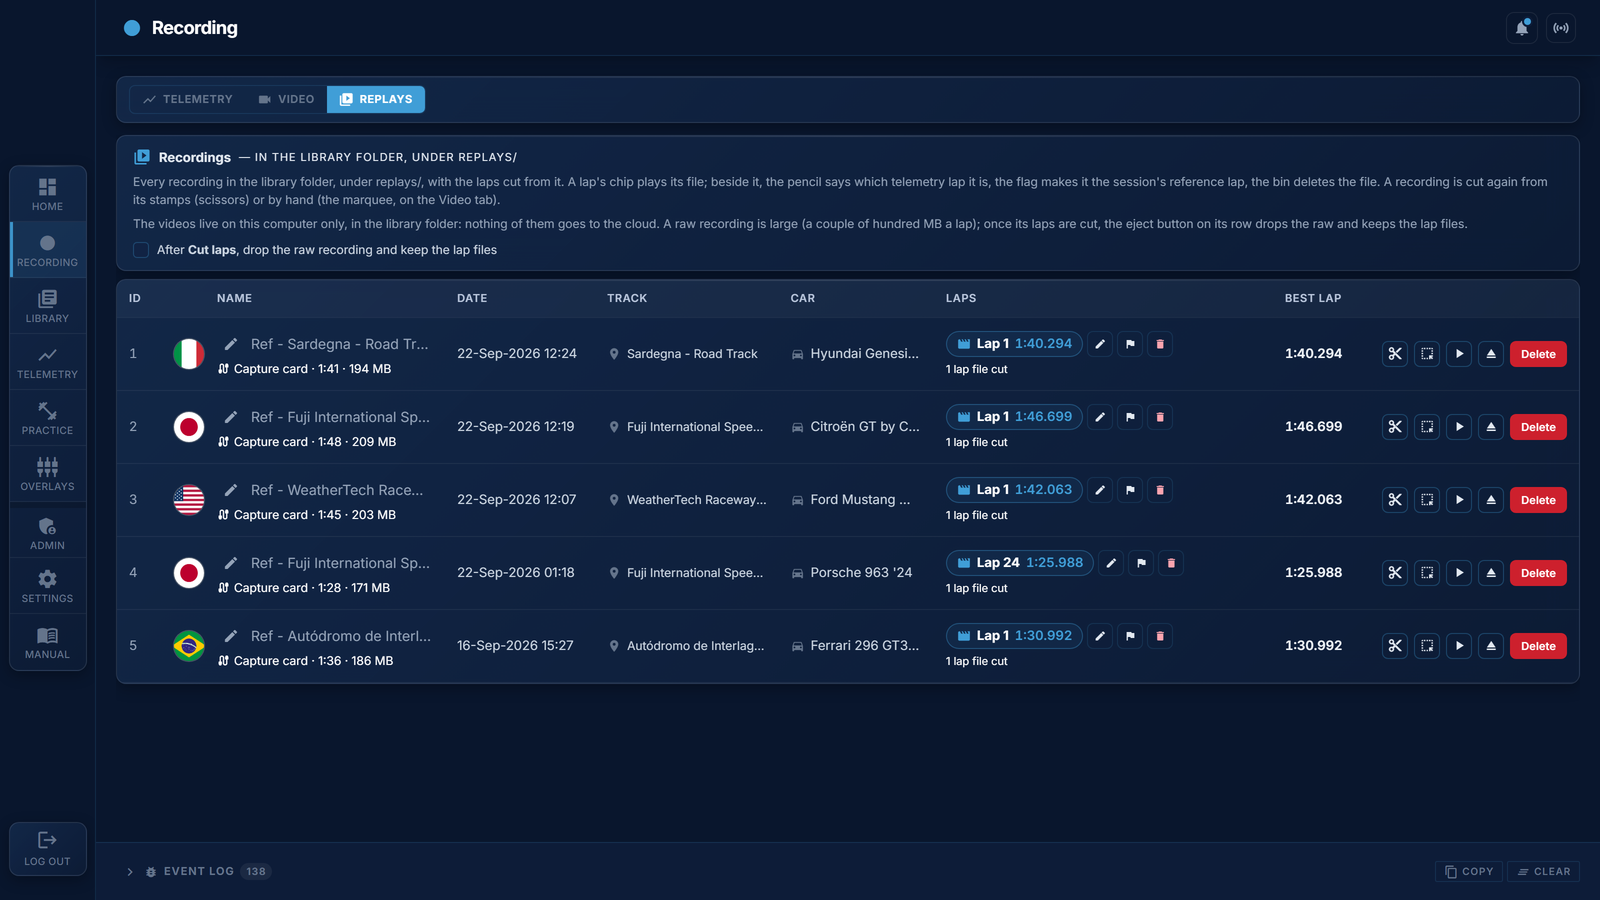
The Replays tab lists every recording with the laps cut from it. A lap's chip plays its file; the pencil beside it says which telemetry lap it is, the flag makes it the session's reference lap, the bin deletes the file. A recording is cut again from its stamps (the scissors) or by hand (the marquee). The videos live on this computer only, in the library folder under replays/ - nothing of them goes to the cloud. A raw recording is large, a couple of hundred MB a lap: once its laps are cut, the eject button drops the raw and keeps the lap files, and the switch in the head does that by itself after every cut.
On the Telemetry page, a lap that has a video opens on Performance with the picture beside the map, in step with the playhead. Attach a reference lap that has a video too and the two-videos view shows both cars at the same point of the track.
Settings › Look picks the theme: Blue (the app's own), Dark and Light. Every page, every chart and the map follow it.
New in 1.6: the look the app was moving to is the only one now. Try the new look is gone from Settings - the tighter layout, the bar across the top and the icon rail are simply the app. The theme still picks the colours it comes in.
Yes — as long as Traces holds the console and passes the stream on. GT7 sends its telemetry to one app at a time, so the two must never both ask the console for it.
SimHub warns that another application is using UDP port 33740. Usually that is expected — Traces holds it because Traces is the app talking to the console — and SimHub receives the stream anyway. The green line under Save in Traces names every app receiving right now and counts the packets sent to it: that is the thing to check.
If SimHub will not start at all because of that port, give it one of its own instead. In Traces, put 127.0.0.1:33742 in Also send to; in SimHub, set the Gran Turismo 7 UDP port to 33742. Note that 33739, 33740 and 33741 are Traces' own ports — a local target on any of those is dropped, so it does nothing, and Traces now refuses to save one rather than letting you find out the hard way.
Worth doing either way: give the PlayStation a static IP on your router. The console address you type into Traces stops changing, and a reconnect after a power cut stops meaning a hunt for the new one.
Do it this way round rather than letting SimHub forward to Traces. What SimHub forwards is a shorter packet with no steering angle in it, so Traces would have to estimate your steering instead of recording it. Pedal and haptic effects work the same either way.
They flag laps inside that session that are not ordinary flying laps. Hover any badge to see which laps it refers to. The same badges appear in the Library list and in the Telemetry compare picker.
Cut lap — the recording ends while the car is still at speed, so the lap is missing its final stretch. This is the one to watch out for: the charts scale each lap to its own distance, so a short lap gets stretched across the same axis and the delta and traces drift apart. Do not use a cut lap as a comparison reference.
Stopped — the car stopped mid-lap: a race interruption, a spin, or a paused session. The data is accurate, it simply is not a flying lap, so its time and traces are not comparable. A stop also splits the session into stints in the Telemetry view.
Pit stop — the car visited the pits during that lap. GT7 relocates the car when it rejoins the track, so the lap covers less distance than its time suggests, and its map and distance-based charts are not meaningful. A pit stop also marks the end of a stint.
Grid start — the first lap of a race. It begins on the grid, past the start/finish line, so it covers less than a full circuit. Nothing is missing and nothing went wrong — it just is not a like-for-like comparison lap. Informational, not a warning.
Incomplete — the lap does not close (its start and end positions do not meet) and the data does not say why. Rare; treat it like a cut lap when picking references.
Every colour used across the Telemetry, Coach, and Recording maps and charts. These are stable — the same channel uses the same hue everywhere.
The shapes dotted along the racing line on the track maps flag the key moments of every corner — where you start braking, where the car is slowest, and where you pick the throttle back up. They're the same three points the Coach analyses, so you can read a corner at a glance.
Read together they tell the story of a corner: brake (red) → coast down to the slowest point (white) → feed the throttle back in (green). A later brake triangle or an earlier throttle circle than your reference lap is usually where the time comes from.
The small icon buttons above the track map toggle what's drawn on it. The first group controls your loaded lap; once a reference lap is loaded for comparison, a second, identical group appears after a divider and controls the reference lap the same way. Lit buttons are on, dimmed are off.
Tip: the reference group only appears while a comparison lap is loaded — if you only see one set of buttons, load a lap to compare against from the Compare picker first.
The modes on the Recording page and what each one does.
GT7's UDP telemetry stream is delivered at ~60 Hz — one packet roughly every 16.7 ms. When a car crosses a sector boundary between two packets, the app interpolates linearly between the two position samples to estimate the exact crossing time.
Because the car doesn't follow a perfectly straight path between samples, this linear estimate carries an inherent error of ±1–2 ms. The game computes crossing times internally at a much higher rate using its physics engine, so its displayed sector times are more precise.
There is no way to improve beyond ±1–2 ms accuracy without access to higher-frequency position data from the game. This affects all telemetry apps that read GT7 UDP data.
Sector times are computed in whole milliseconds, and the last sector is adjusted to make the total equal the authoritative lap finish time. So the sum is always exact, but individual sector boundaries may still be 1–2 ms away from what the game reports — due to the interpolation limit described above.
Each sector boundary is defined as a line segment running from the inner edge to the outer edge of the track. At each telemetry tick, the app computes the car's signed perpendicular distance to that line. When the sign flips (car crosses the line), it linearly interpolates between the two ticks to find the fractional crossing time.
This is the same method used for live sector detection during driving. Sector boundaries are saved in the Admin → Tracks tab.
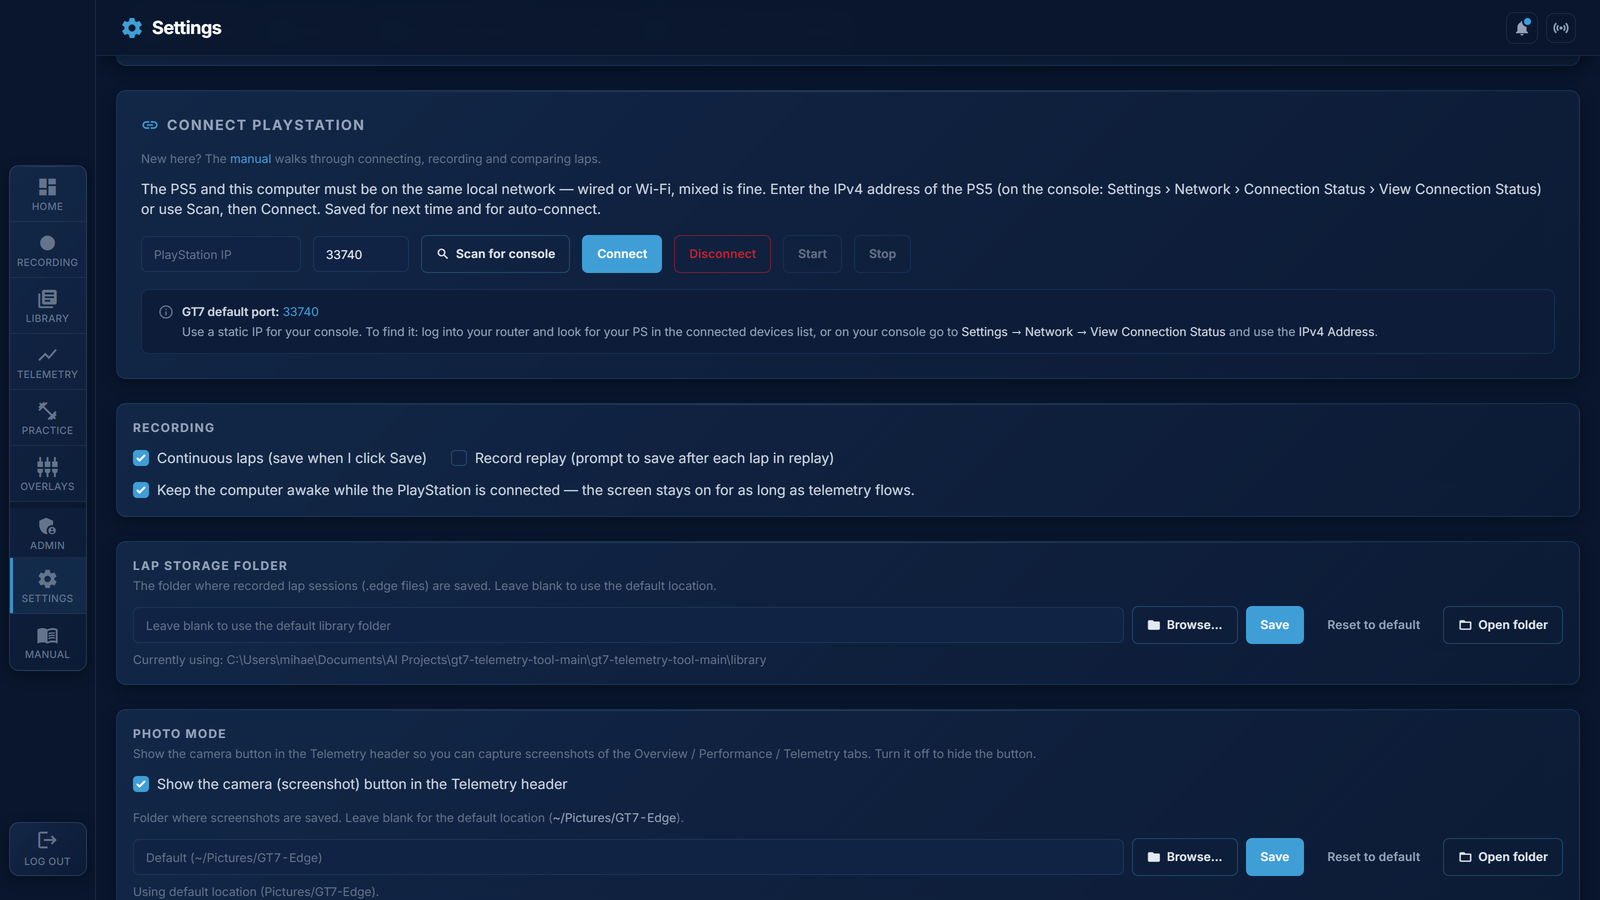
The auto-scan tries to bind to UDP port 33740 to listen for broadcast replies. If the app is already connected, that port is held by the active telemetry listener — the scan is skipped and the known IP is returned immediately.
If you see this message while not connected, make sure GT7 is open and running on the same network, and that the PS5 has the "Send Telemetry" option enabled in GT7's settings.
When auto-connect is enabled in Settings, the app checks on launch whether it is already connected. If not, it uses the last saved PS5 IP to reconnect. If no IP is saved, it broadcasts a scan packet to find the console automatically.
GT7 sends telemetry at approximately 60 Hz (one UDP packet per frame). All recorded data — speed, throttle, brake, position, etc. — is at this resolution. Time-sensitive calculations such as sector crossings are limited by this sample rate.
Yes. GT7 streams the same UDP telemetry format during replays. Lap recording and analysis work the same way, though replay scrubbing may cause brief gaps or duplicate data in the stream.
Short reference on the core skills the Coach tab's lap-feedback detector flags. Read this when you don't have a session loaded — these are the things to aim for.
Brake in a straight line where possible. Hit peak pressure early, then release smoothly into the corner (trail-brake) so weight stays on the front while you turn in.
Lifting off the brake too fast unloads the nose and washes you wide; staying on too long past the apex chokes the exit.
Pick up the throttle progressively from the apex. Snapping to 100% before the car is pointed straight overworks the rear tyres and forces a lift — losing more time than the few extra metres of full throttle ever gain.
Aim for a long, smooth ramp from apex to exit.
One smooth input per corner. Mid-corner corrections (sawing the wheel) almost always cost time — they signal that the entry speed or brake release was off.
Unwind the wheel as the throttle goes on; tightening lock under power is a slide waiting to happen.
Wide on entry, late apex, track-out wide on exit. The geometric line maximises corner radius; a late apex sacrifices entry speed for a faster, straighter exit — almost always the right trade on corners followed by a straight.
The exception: corners followed by another corner the same direction (carry minimum speed, not exit speed).
Downshift while braking, not while turning — shift-shock mid-corner upsets the car. One gear too high lugs the engine out of the powerband; one too low spikes RPM and risks lockup on downshift.
Practise releasing the brake as you let the clutch out so weight transfers are smooth.
Most laps lose time in the slow-corner exits, not on the straight. Compare your delta segment-by-segment: if you're losing 0.2 s in a single corner, the fix is there — usually in throttle application timing rather than top speed.
The Telemetry tab's segment deltas are the fastest way to find your worst corner.